
Author: Annie Klodd, UMN Extension Educator - Fruit and Vegetable Production
Following correct planting methods for asparagus is important for this long-lived perennial crop. But I find that this step often trips up new growers. Thankfully, countless farmers and researchers have decades of experience that new growers can draw from to do this right the first time.
Planting mistakes in asparagus can cost money and yield. Planting at the incorrect depth or spacing, planting non-hardy varieties, or neglecting soil fertility and weed management can slow the establishment of a new asparagus field or cause plants to succumb to winter damage after the planting year. Let's go through the most critical steps for successful planting:
Step 1: Prepare the field the year before
Growers considering adding asparagus to their farm should develop a plan a year ahead of time and prepare the field. Waiting to prepare until the planting year may work in certain cases, but only if the grower already knows that the field is well suited for asparagus, and if nurseries still have crowns of the desired varieties available. Planting hastily without preparation often seems to lead to simple but costly mistakes.
Depending on the current state of the field, preparation activities may include:
- Taking a soil test
- Amending the soil pH and organic matter if deemed necessary by the soil test
- Reducing perennial weeds with a vigorous cover crop, chemical control, or frequent tillage
- Measuring the field to determine planting area
- Deciding on row spacing, orientation, and calculating number of crowns needed
- Ordering crowns
Information on preparing to plant asparagus, as well as variety information, can be found in the recorded webinar on asparagus production, hosted by University of Minnesota Extension and the Sustainable Farming Association. View the webinar here.
Step 2: Schedule crown delivery
Crowns should be ordered 4-6 months before planting to ensure that preferred varieties are still available. This is especially important for larger orders. When placing the order, you will be asked to select a delivery date. Select a date close to when you anticipate planting, as the crowns must be refrigerated until planting. In Minnesota, we plant asparagus between early May to the first week of June.
Popular varieties for Minnesota currently include Millennium, Jersey Knight, Jersey Giant, Jersey Supreme, and Purple Passion. However, we recently learned that the Jersey series will be discontinued within about five years.
We may begin recommending other varieties from the University of Guelph, where Millennium was developed, but more trialing in Zone 4 is needed before University of Minnesota recommends these new varieties.
Step 3: Fertilize and till the field
If the soil test indicates phosphorus or potassium deficiencies, these should be incorporated in the fall or spring before planting. More P and K can also be incorporated at the time of planting. The webinar as well as the UMN Asparagus Production Guide describe how to calculate fertilizer rates and apply fertilizer.
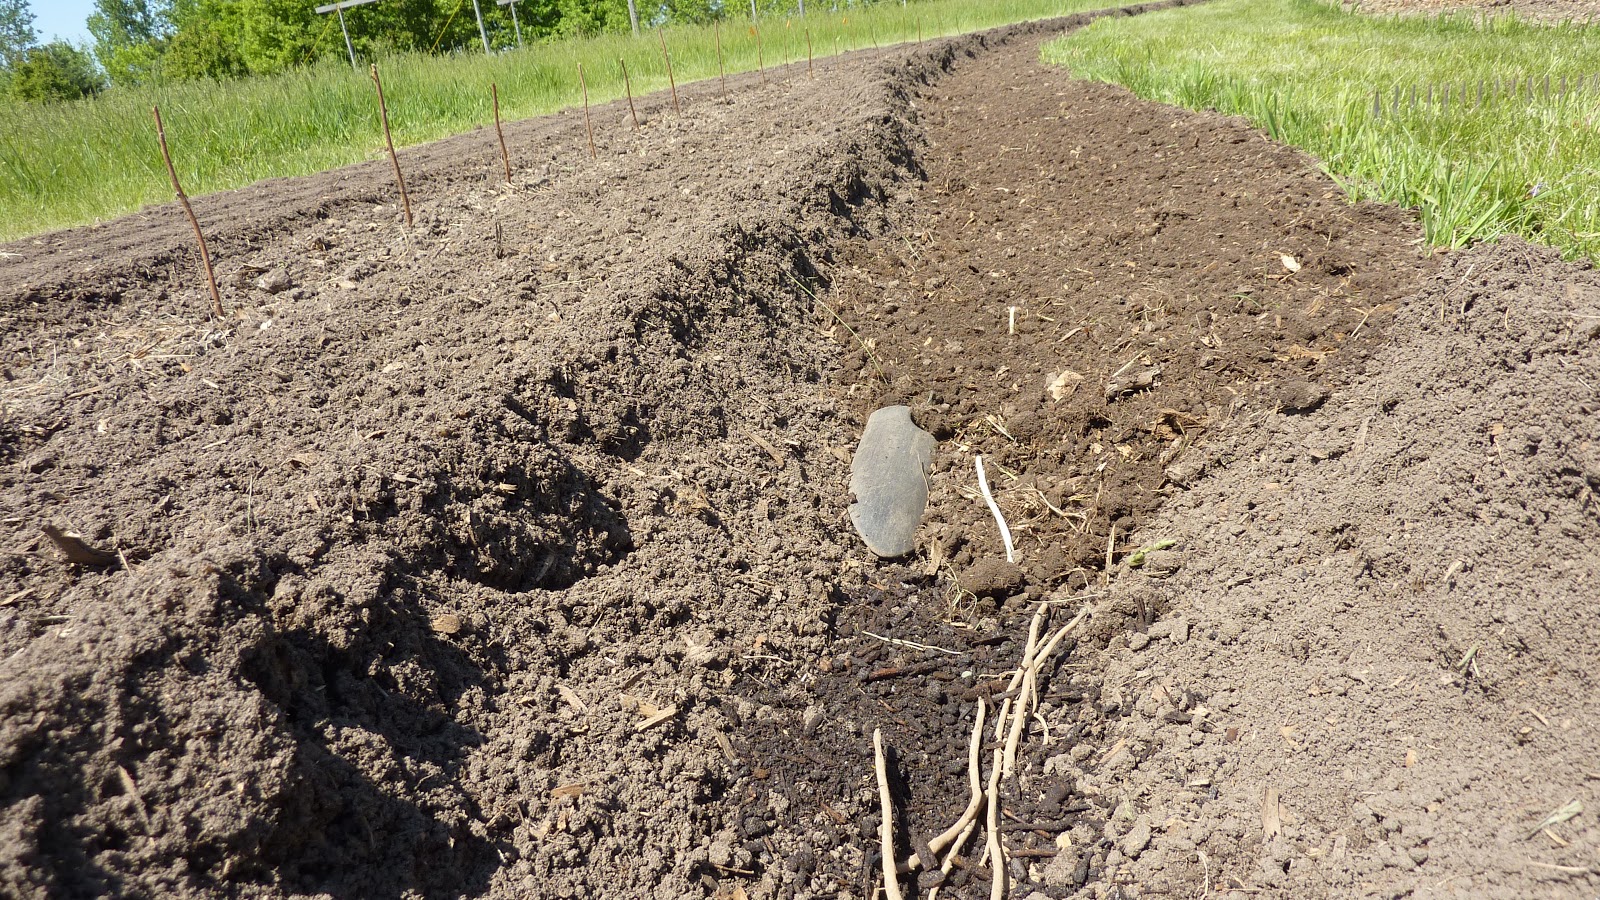
Step 4: Time to Plant - Dig furrows
On the planting day, begin by digging furrows (trenches) for the crowns to be planted into. Furrows, which will become the asparagus rows, should be spaced about 4 feet apart. They can be spaced further if needed (equipment purposes), but should not be spaced closer than 3 feet, as the rows will widen as the plants grow.
The furrows are typically between about 8-10 inches deep. In heavy clay soils, the furrow depth may be reduced to 6 inches, and in sandy soils, the depth may be increased to no more than 12 inches. The soil that is displaced from the furrow should be pushed to either one or both sides, so that it can later be back-filled.
Some growers use custom equipment to dig furrows, while others use a single-bottom plow. Shovels are only efficient for very small plantings.
 |
| Furrows should be at least 6 inches deep. Rows are typically 48 inches apart, but can be wider if needed for equipment. Image: University of Minnesota Extension |
Depending on labor, equipment, and field size, a grower may choose to plant as the furrows are being dug, with one person digging and one to two people following behind the tractor with the crowns; or dig the furrows and then go back shortly after to plant the crowns.
Step 5: Plant the crowns
To plant, place the crowns "head-to-toe" or bud-to-root tip in the furrow. Recommended plant spacing is 12 inches. This spacing works well, because many crowns have roots between about 8-12 inches long. See photo below:
 |
| Plant crowns flat against the bottom of the furrow, laying them down "head-to-toe." Photo: Annie Klodd |
Some very old publications and online gardening blogs may say to spread out the roots of the crowns like an octopus during planting, but this is an outdated recommendation that is not necessary. It is inefficient, and will substantially add labor costs while not adding any proven yield or plant health benefit.
Many growers add N-P-K fertilizer into the furrows at the time of planting. This helps ensure that adequate nutrient concentrations become available in the rooting zone during the first season.
Step 6: Cover the crowns
Immediately after laying the crowns in the furrows, cover them by back-filling with 2-3 inches of soil from beside the furrow. This can be done with a rake, but larger asparagus farms use customized equipment for this step.
Important: Prolonging the time between planting and covering can cause the roots of the crowns to dry out. Therefore, it is important to cover the crowns with soil very soon after planting. It is also best if the soil used to back-fill still has good moisture, and to irrigate or water manually.
 |
| Furrow being partially back-filled after crown placement. Trowel included for reference. Photo: Mike Lilja |
After planting
After planting, there should still be plenty of soil along the sides of the furrows, which will be used later in the season to continue back-filling the furrows as the ferns grow.
Small, narrow spears will start to emerge from the soil within 2-3 weeks of planting, depending on precipitation, temperature and amount of soil cover. Once the spears are sturdy and several inches tall, several more inches of soil can be back-filled into the furrow (see illustration below). Use caution with this step, as large clods of dry soil can break the brittle spears.
 |
| A simplified demonstration of filling furrows through the season. Illustration: University of Minnesota Extension. |
 |
| A new asparagus field in October. All the soil has been pushed back into the furrow, and the soil is level. Photo: Annie Klodd. |
Key Points:
- Prepare the field and the planting plan in the year prior to planting
- Have the crowns delivered on or shortly before the anticipated planting date
- Crowns should be planted "head-to-toe" in 6-12 inch deep furrows
- Cover the crowns with 2-3 inches of soil immediately after planting, to prevent drying
- Back-fill the furrows 1-2 more times during the growing season, so that the soil is level by about August
More information:
Information on varieties, field preparation, site selection, fertility, crop management, weed management, marketing and more can be found in the webinar above, as well as the UMN Asparagus Production Guide and "What's Wrong With My Plant: Asparagus" from UMN Extension.
Thank you to the Sustainable Farming Association for partnering on the Minnesota Premium Asparagus Project since spring, 2018.

Comments
Post a Comment